What’s inside the book
Part One: Making 3D objects
Chapter 1: Making and moving a 3D objects
Rather than going into a lot of theory about 3D space, 3D Photoshop dives right in and has you create a 3D object on the very first page. The first chapter looks at creating, moving and rotating 3D objects, and the difference between moving the object and moving the scene.
Chapter 2: Shaping and editing a 3D object
You can do a lot more to 3D objects than just extrude them. This chapter looks at tapering, bending and twisting, adding bevels, and using both the Head-Up Display and numerical controls to achieve perfect accuracy.
Chapter 3: Revolving a 3D object
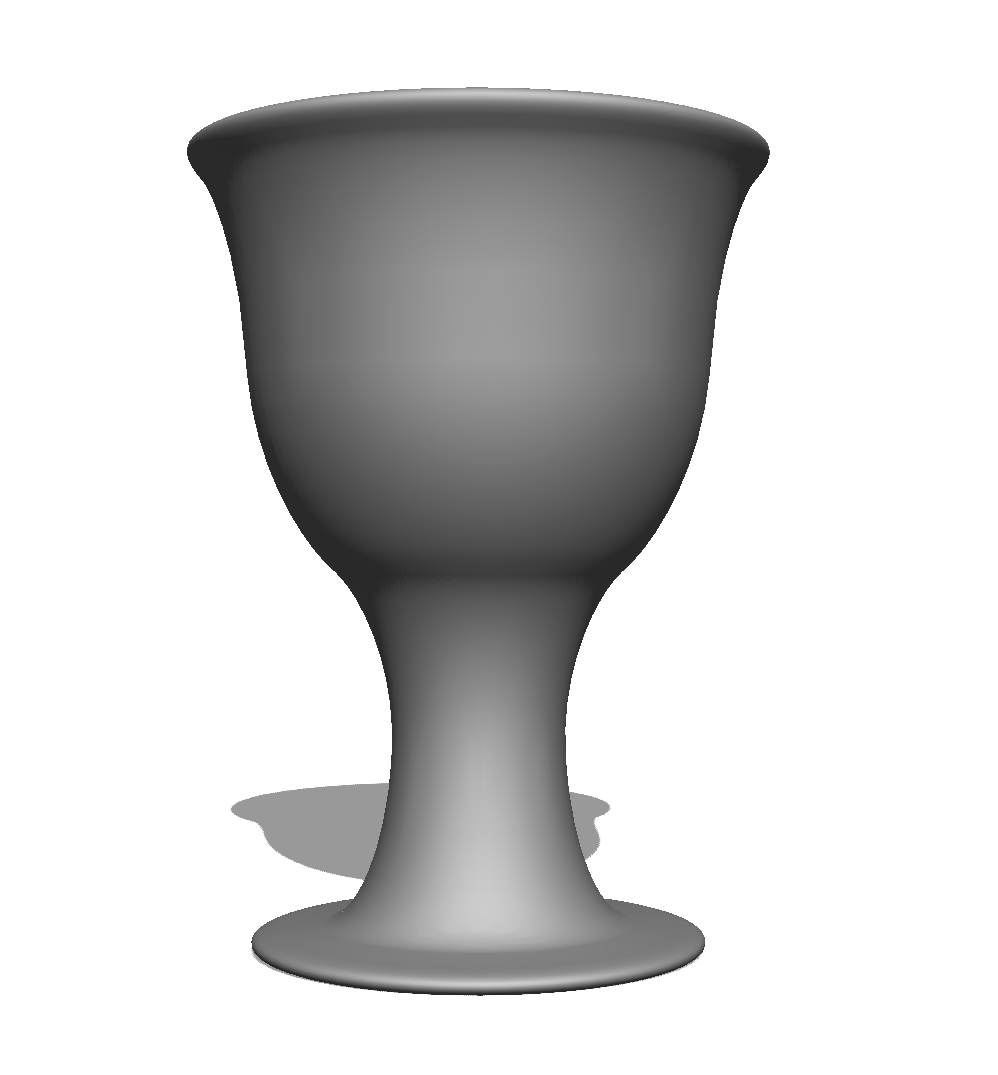
As well as extruding objects, you can also revolve them, as if on a lathe. This chapter looks at using both the Brush and the Pen tools to create outlines, which can then be spun around and modified using the 3D controls.
Chapter 4: Inflating objects from photographs
You don’t need to create 3D objects from scratch: almost any cutout photograph can be turned into a real object by inflating it. This chapter looks at what works, and what doesn’t – and helps you to see the difference between the two.
Chapter 5: 3D postcards
3D Postcards may seem very low-powered compared to Photoshop’s other 3D tools – but they’re a great way to create an instant effect and, as we’ll see later in the book, can integrate background images with your 3D scenes.
Chapter 6: 3D presets
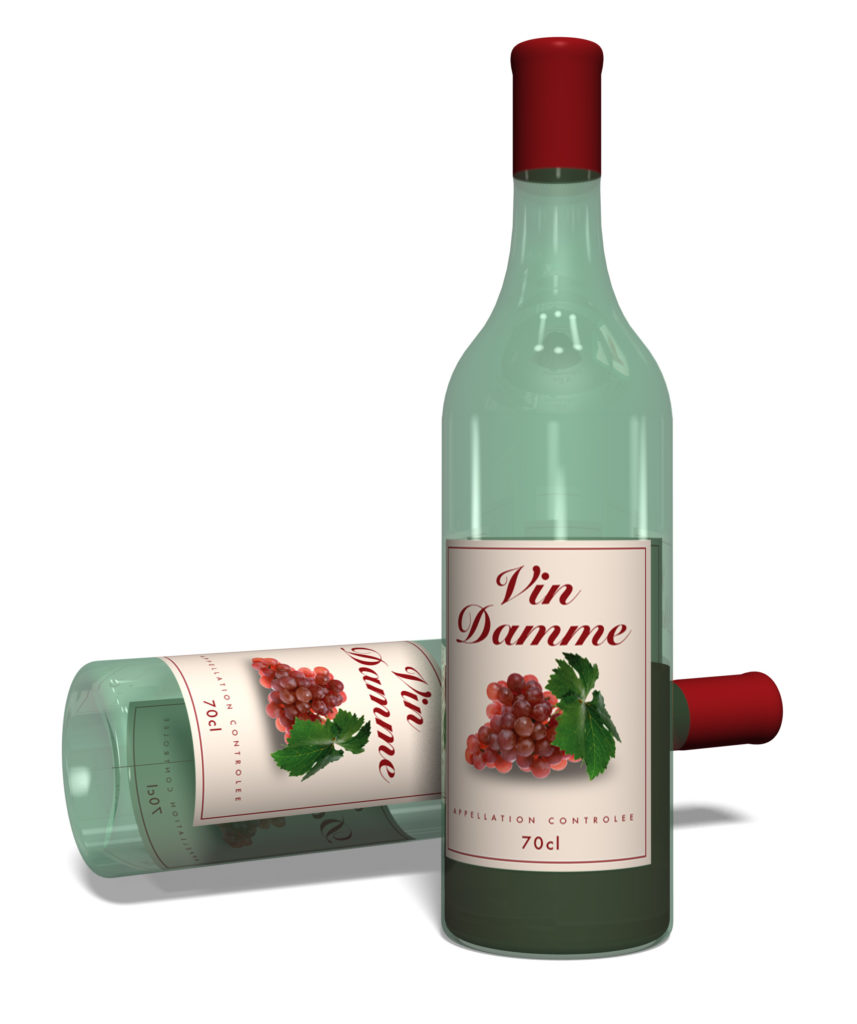
Photoshop comes with a range of 3D preset shapes to help you build your scene. Although they’re often known as ‘primitives’, some are truly sophisticated – such as the multi-part glass bottle.
Chapter 7: Other creation tools
This chapter looks at the 3D object creation tools not already covered: making objects from Depth Maps, using Photoshop’s Vanishing Point filter, and making 3D Volumes. It includes an easy way to turn a flat map into a fully-rotatable planet.
Chapter 8: Importing 3D objects
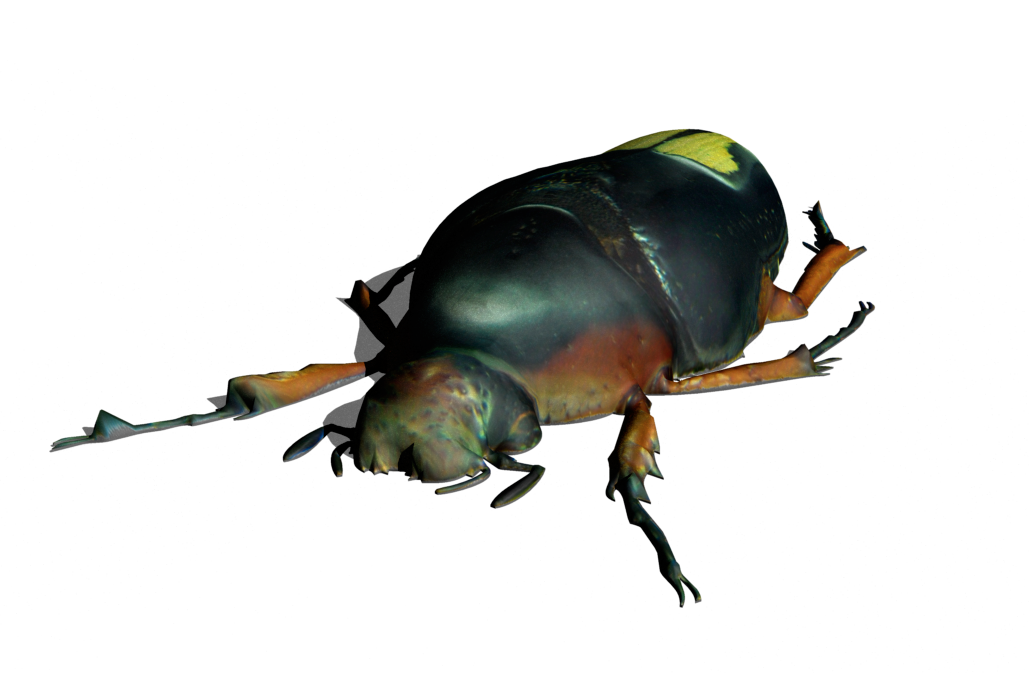
You can import objects into Photoshop from a wide variety of sources – including Google 3D Warehouse, Daz Studio, and many more. This chapter looks at how to get the best out of these resources, and what to do when things go wrong.
Part Two: Lighting and materials
Chapter 9: Rendering
Rendering is the process of producing finished artwork from 3D scenes. This chapter covers partial renders, depth of scene settings, different kinds of shadow, and looks at the different render modes on offer.
Chapter 10: Lighting
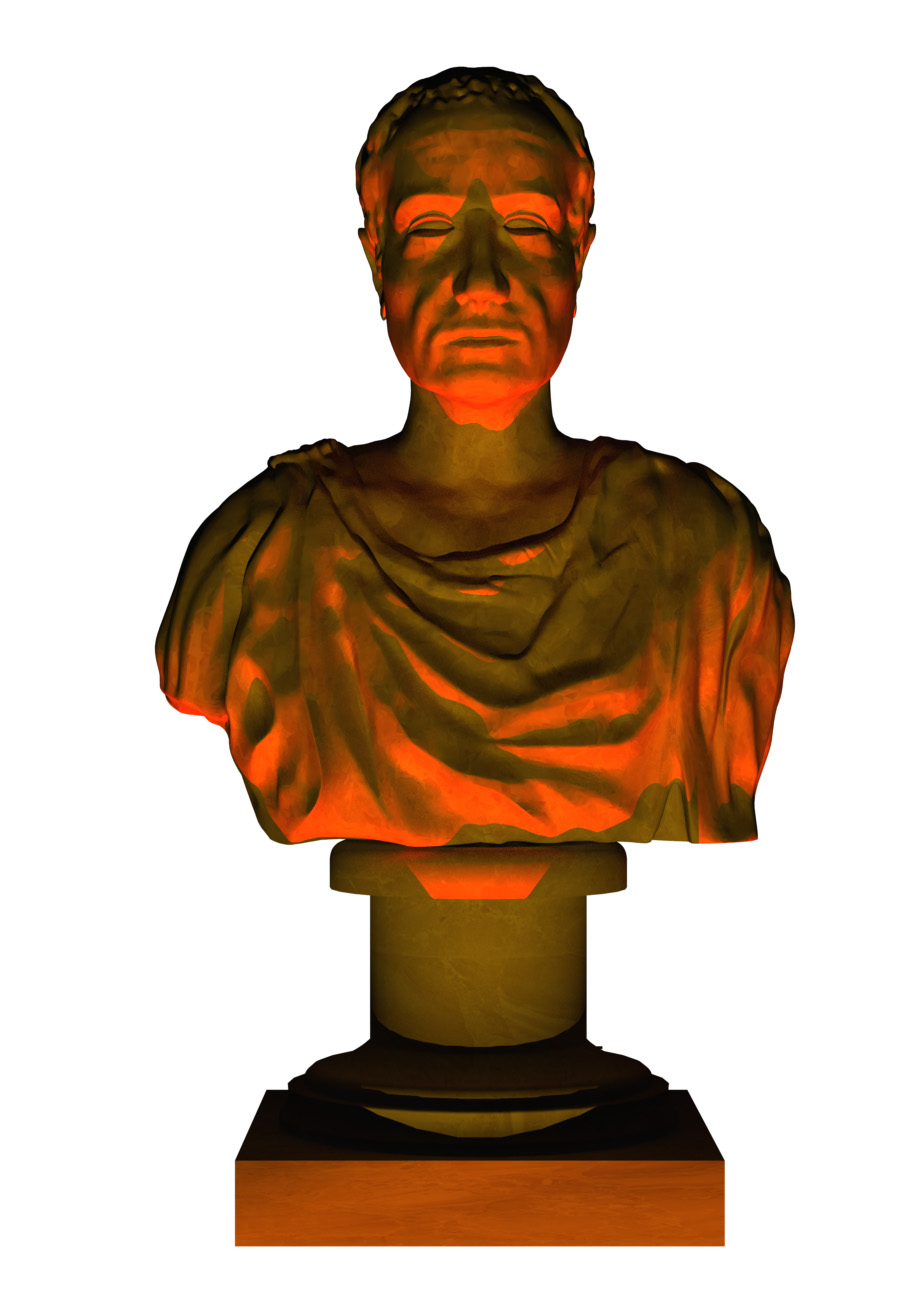
Just as it does in real life, lighting makes all the difference to the realism and wonder of a 3D scene. This chapter covers spot lights, point lights and infinite lights, as well as working with colored lighting and producing special effects with shadows.
Chapter 11: Placing materials
In Photoshop, the word materials covers not just patterns but bump maps, reflection maps, opacity maps and more. In this chapter you’ll learn how to apply photographic materials, how to draw your own from scratch, and how to identify and modify materials in imported models.
Part Three: Building 3D scenes
Chapter 12: Multiple objects
So far in this book, we’ve been working with one object at a time. This chapter shows how to manipulate and combine objects, including an explanation of the new object Instances that allow you to work with self-updating clones.
Chapter 13: Refraction, reflection and transparency
Working with glass or other transparent materials means thinking about how they affect objects seen through them. This chapter examines the different ways of making objects reflect and refract both each other and their backgrounds.
Chapter 14: Combining models with photographs
Of course, you can just work on 3D models in isolation. But the ability to merge a model into a photographed scene in a seamless way is one of the best reasons for modeling in Photoshop rather than any other 3D application. Cross sections, Layer Masks and more.
Part Four: Special projects
Chapter 15
This final section of the book looks at the interesting and the unusual: including animating your models, splitting an photograph into multiple parts so each can be modeled individually, and creating a 3D ribbon around a human figure.
